Would you like to customise your first eCard in Power eCard? In this guide you will learn step by step how to design eCards.
Design & Fill a blank eCard
Video tutorial:
Tutorial in text form
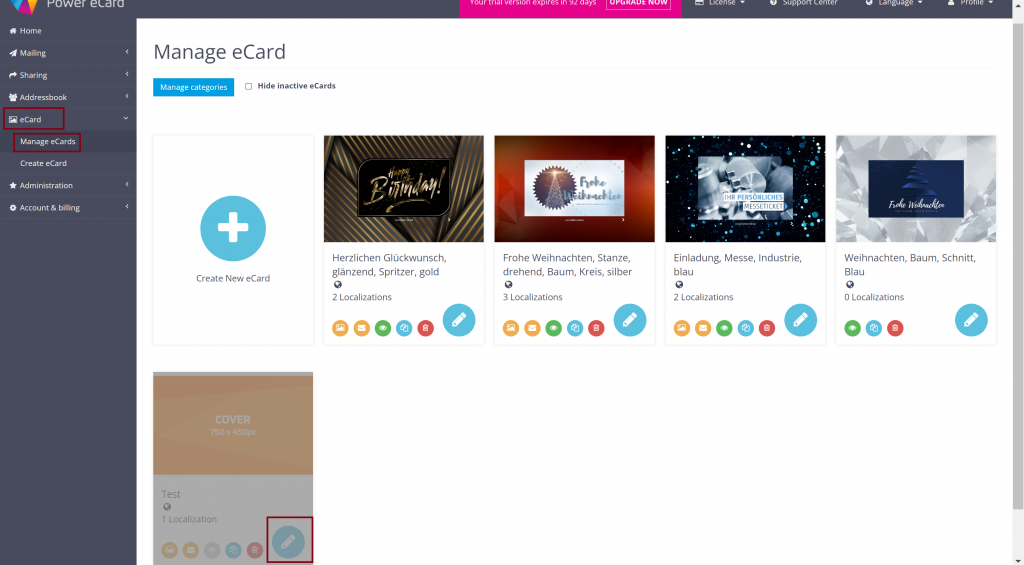
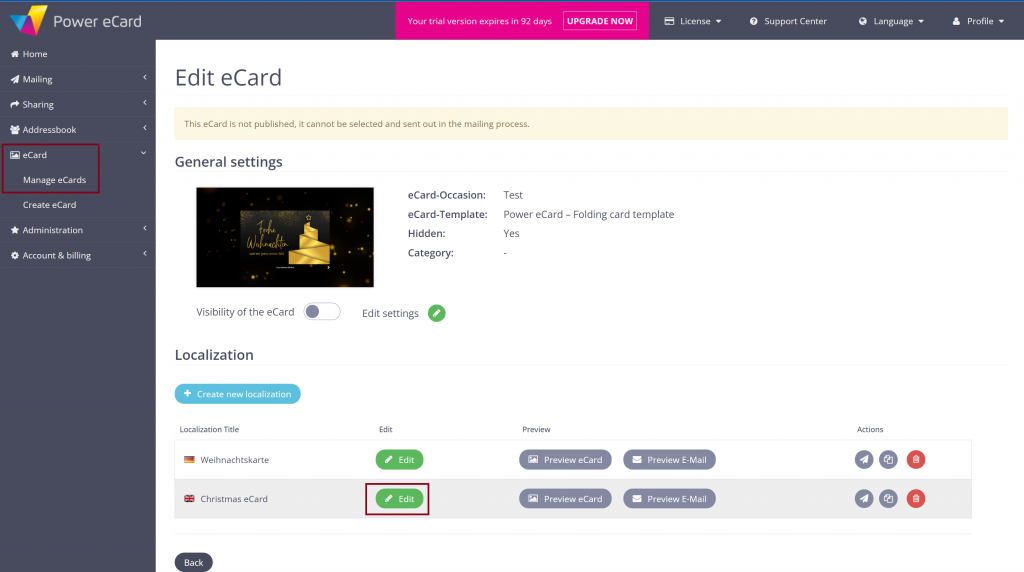
To edit your eCard, select eCard>Manage eCards in the menu and click on the blue pencil icon under the desired eCard.
You will now see all localisations/ language versions of your eCard and can access our live editor by clicking on Edit.

Here you can follow all changes live and jump back and forth between different eCard versions. To do so, click on the respective name of the localisation in the top bar.
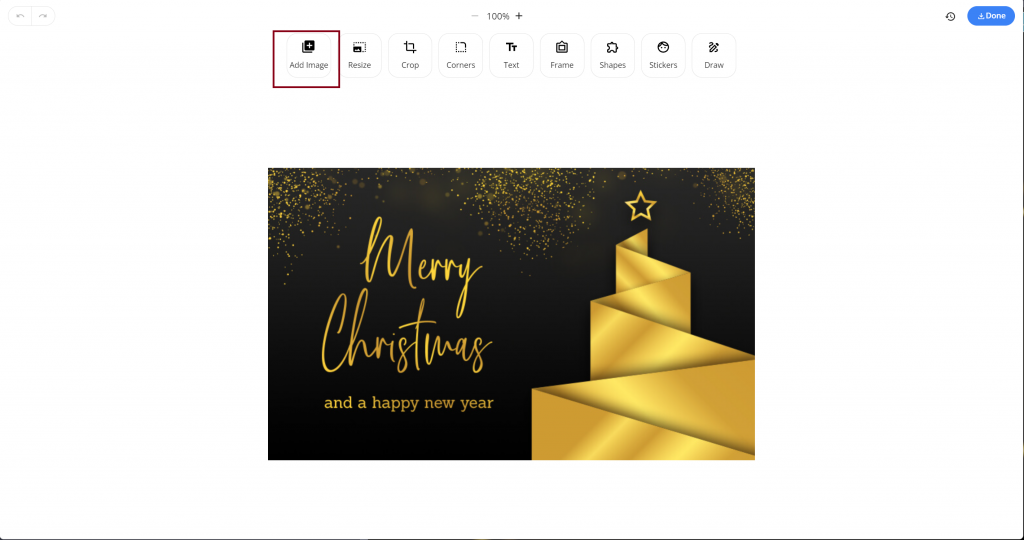
Fill eCard pages with images
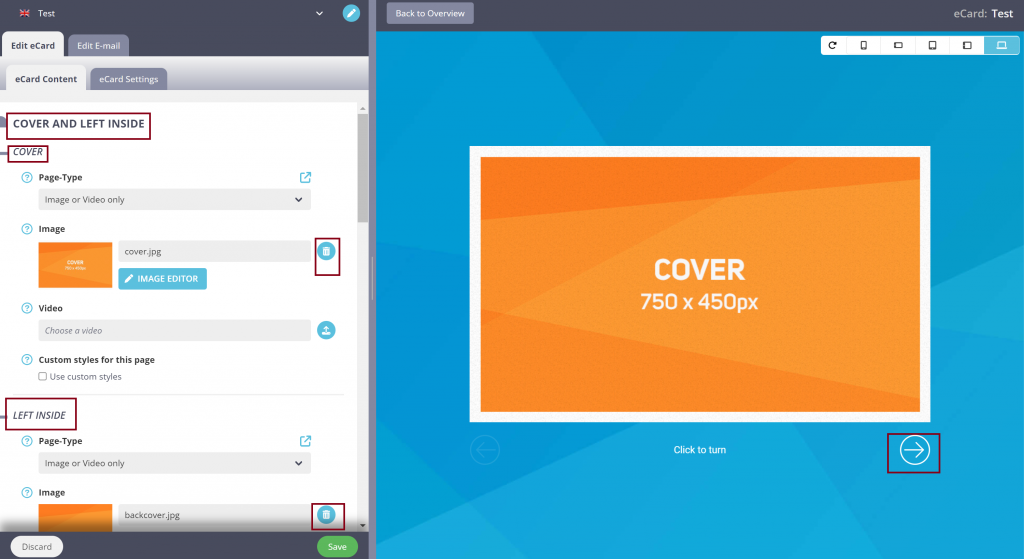
In the editor itself, you can always use the headings on the left-hand side to see which page of the eCard you are currently editing. The standard pages for editing are the cover, left inside page, greeting text page (right inside page) and back page.
You can delete the sample images by clicking on the waste bin icon.
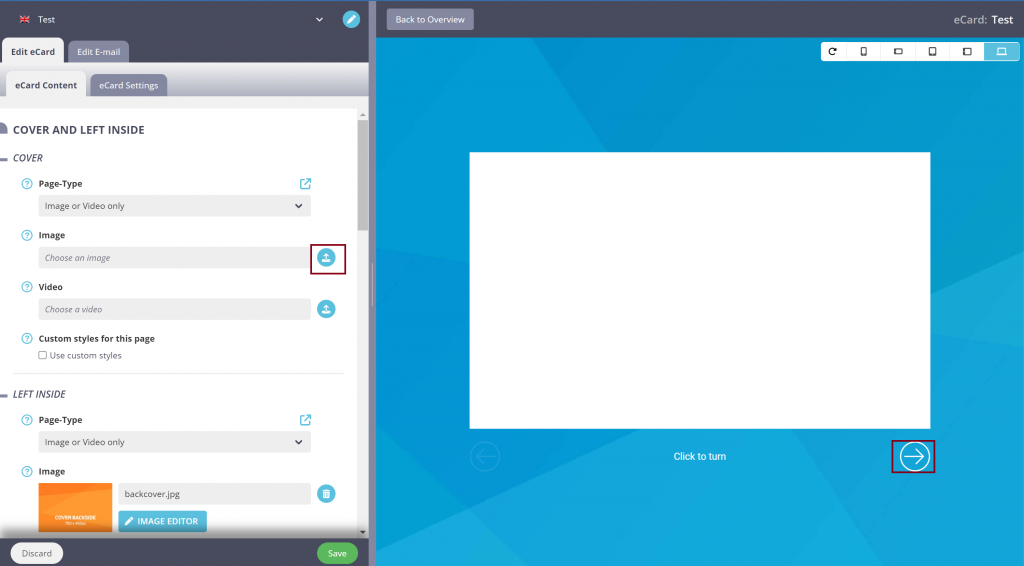
Upload a new image by clicking on the upload icon that is now visible. To follow the live changes inside the map, click on the arrow on the right under the eCard preview.
With this procedure you can fill the cover, the left inside page, the greeting text page (right inside page) and, if desired, the back with images.
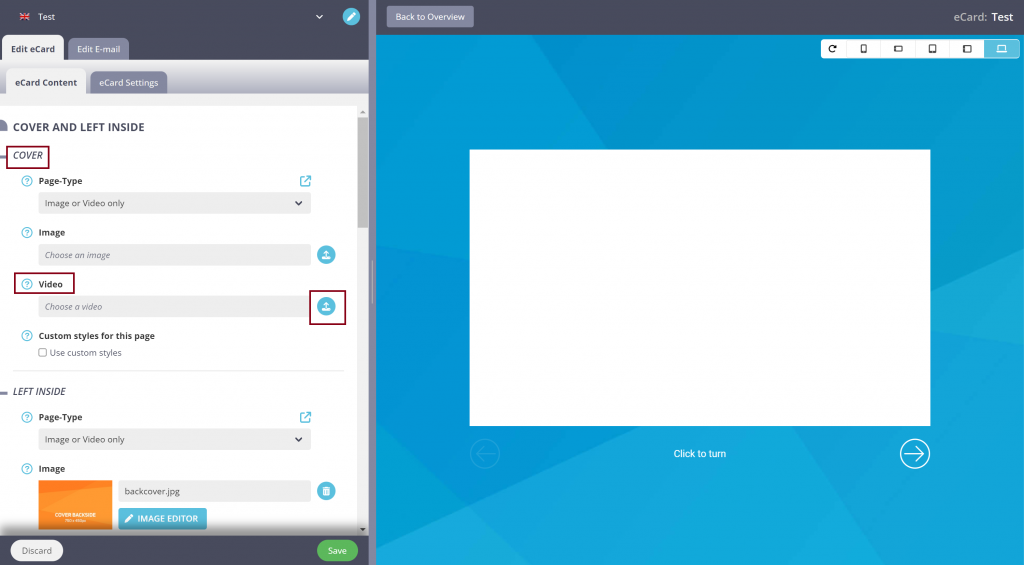
Fill eCard pages with videos
Just as images are uploaded for the individual eCard pages, videos can also be used to fill up the pages. To do this, click on the blue upload button next to your desired eCard page (e.g. cover) and upload your desired image.
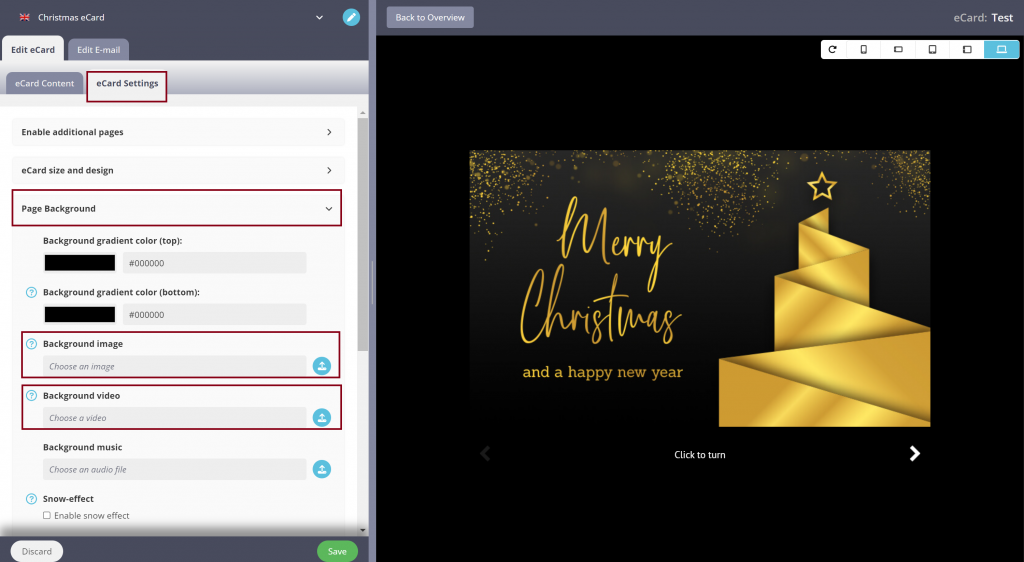
Set a background
You are able to determine the background of your eCard and have the choice between inserting an image, uploading a video or defining a colour/gradient.
To do this, go to the eCard settings>Page background tab in the Live Editor
There you can upload your desired background under Background image or Background video.
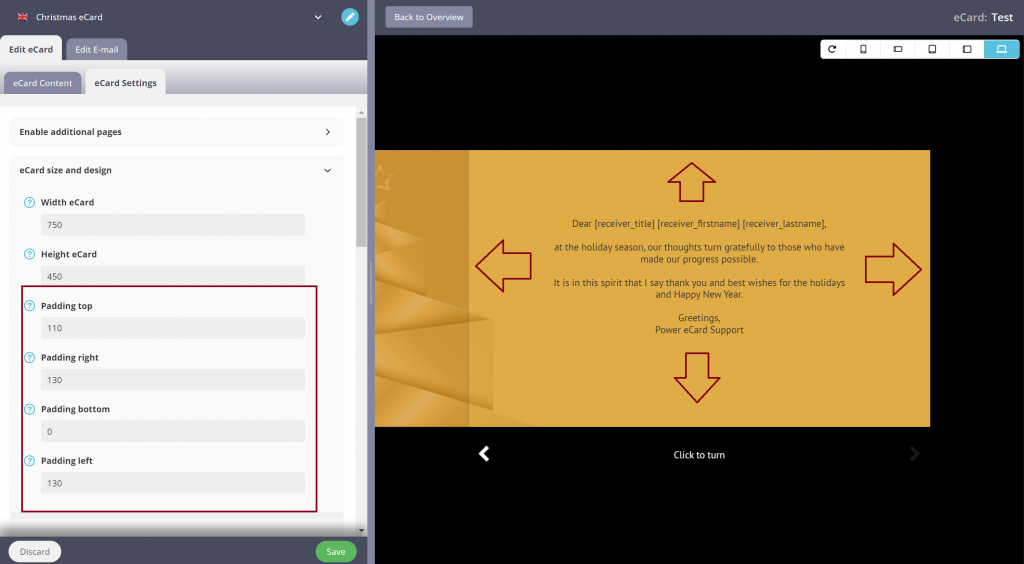
Set eCard size and internal spacing
If you create a folding card, it automatically corresponds to the dimensions 740×450 px, but the size and spacing can still be customised.
To make changes, click on eCard settings>eCard size and design in the editor. You can now determine the width and height of the eCard.
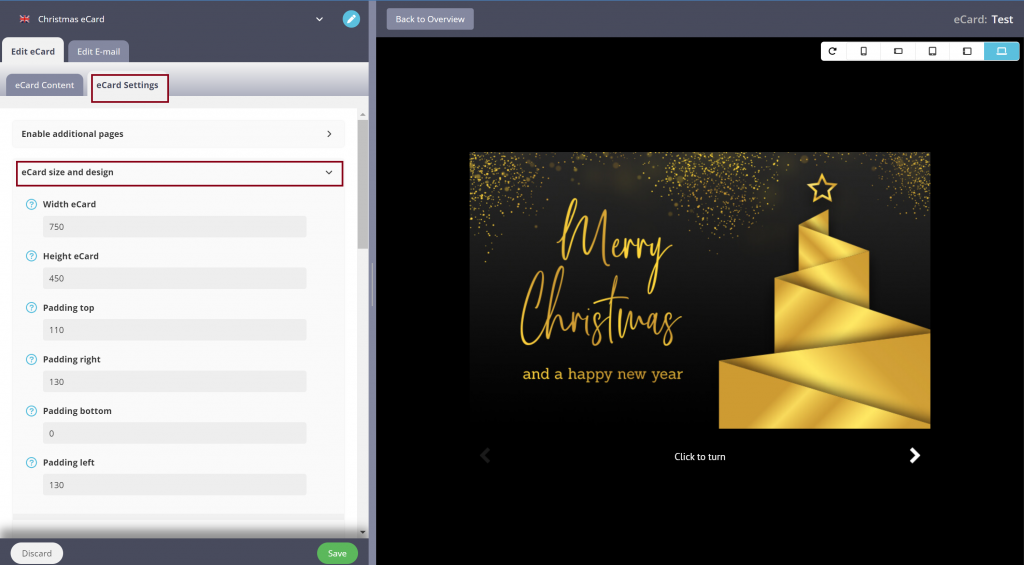
You also have the option of changing the inner spacing of the card. These determine the distance between the edges of the card and your text.
Customise your font styling
A range of standard fonts are available within the editor. As soon as a font has been selected, it is automatically applied to the entire eCard text.
To select one of our standard fonts, click on eCard Settings>Font Styling>Font and select the desired font from the drop-down list. Finally, save your changes.

Insert your own logo
Video tutorial
Tutorial in text form:
If you want to integrate your company logo on the eCard, you can easily place it with our Live Editor, e.g. on the front of the card. To do this, first go to the eCard editing mode.
You can access this in the menu under eCard > Manage eCards > Select eCard (blue pencil icon) > Edit (green pencil icon)
You are now in the eCard Live Editor. In the next step, scroll down the eCard content tab on this page to the eCard image on which you would like to place your company logo. Click on the Image Editor button directly below the chosen image.

Now click on Add Image in the top menu and upload your logo. Place it via drag and drop in the desired position on your eCard. You can use the circles at the edges to make the logo larger or smaller.
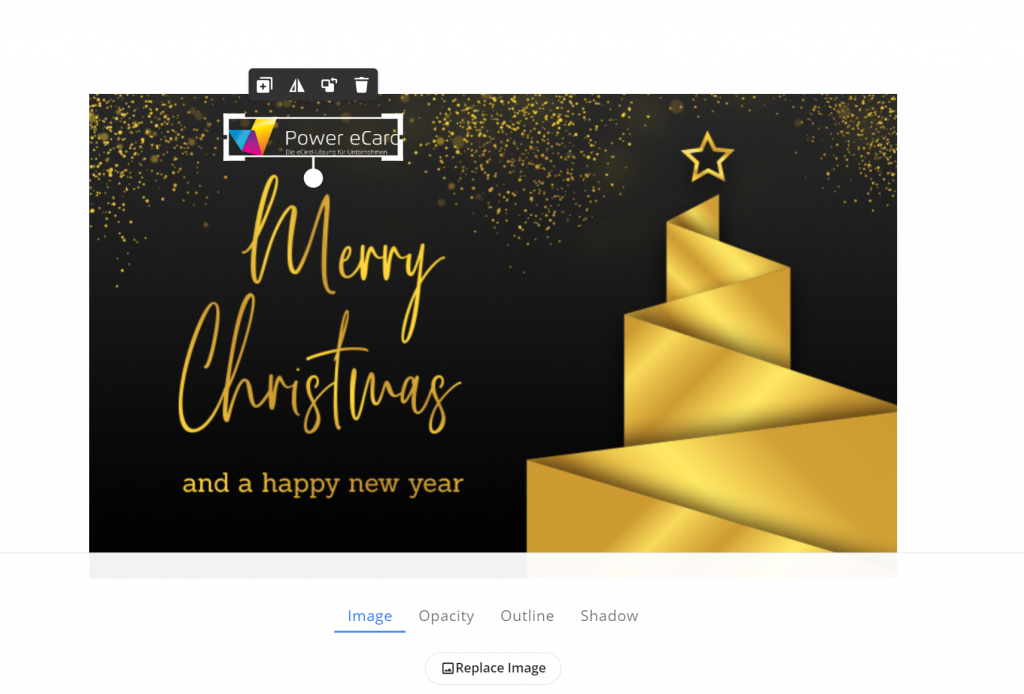
As soon as the logo is in the right place and has the right size, click Apply/Done in the top right-hand corner to save the changes to the image/eCard page.
eCard display
Video tutorial
Tutorial in text form:
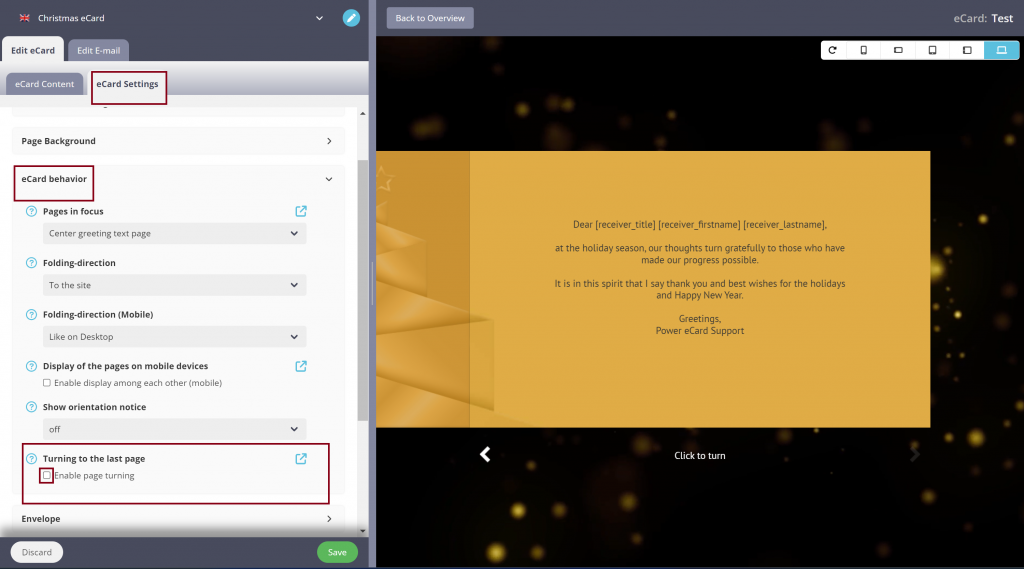
You have several options for changing the display of the eCard and adapting it to different end devices. This is done in the editing mode of the eCard in the eCard settings>eCard behaviour tab.
Folding direction of the card
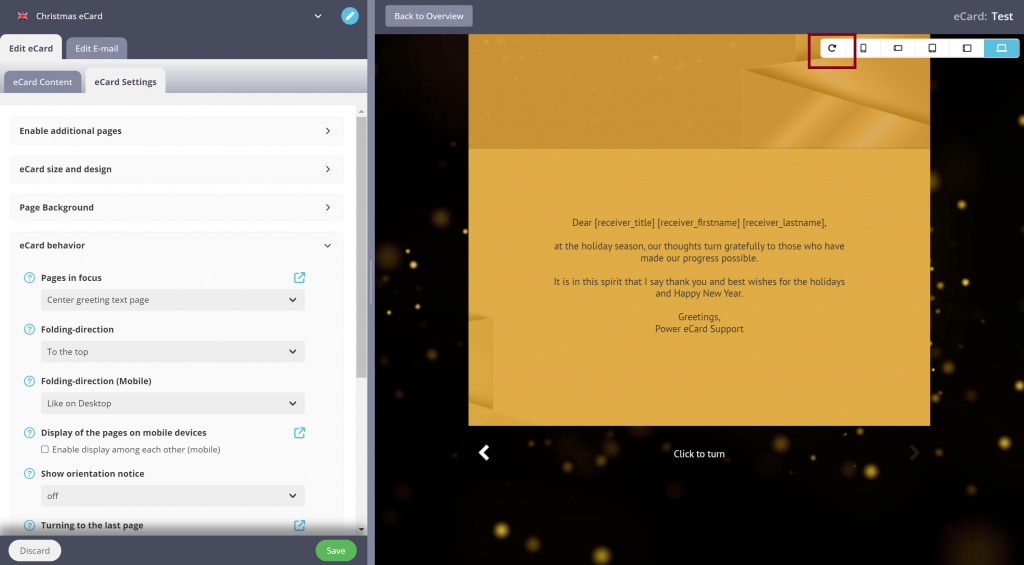
You define the folding direction of the eCard on the desktop in the folding-direction field. Here you can select either to the side or to the top in the drop down in to determine the direction in which your card should unfold.
You have the same options one field below under folding-direction (Mobile). Here you can choose between to the side or to the top or Like on Desktop. This determines the folding direction of your eCard on all mobile devices.
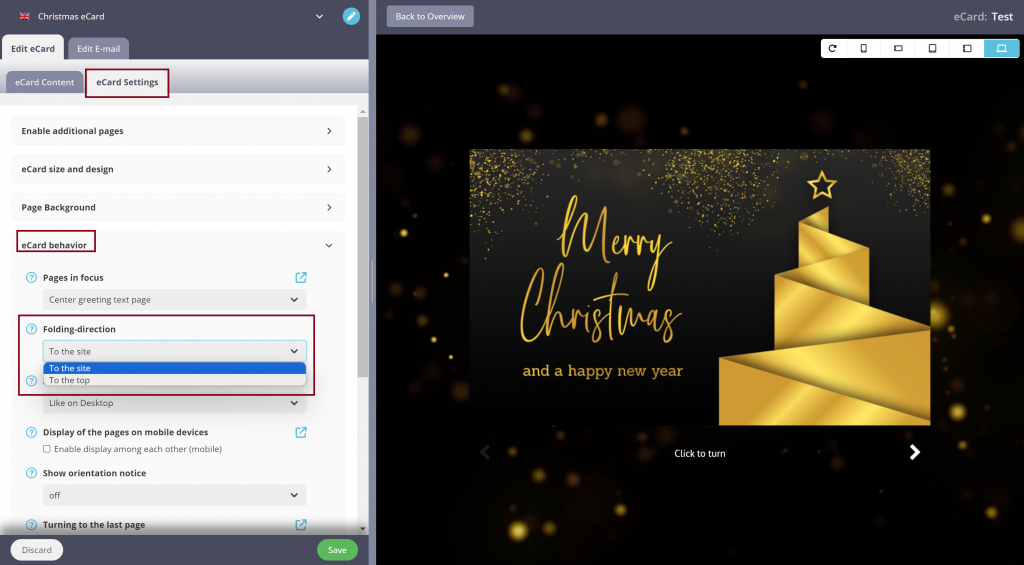
If you change the folding direction and click on the refresh button at the top left, you will immediately see the new folding direction in the preview of your eCard.
Enable turning the last page
If this setting is activated, your receivers will be taken to the back or last page of your eCard. This is done in the eCard settings>eCard behaviour > Turn to last page tab.
If the tick is set, receivers can find an additional arrow on the inside right of the card to turn to the last page.
If you remove the tick, you can only scroll to the right-hand inside page/greeting text page.
Activate envelope use
With the folding card template, you have the option of activating an animated envelope at any time. To do this, open the editing mode of your eCard design.
Under eCard Settings>Envelope, tick the box next to Use envelope.
After activation, 5 fields are available for the integration of envelope images. Depending on what kind of eCard you are editing (designs from our library, an empty template, etc.), the fields are either empty or already filled with envelope images.
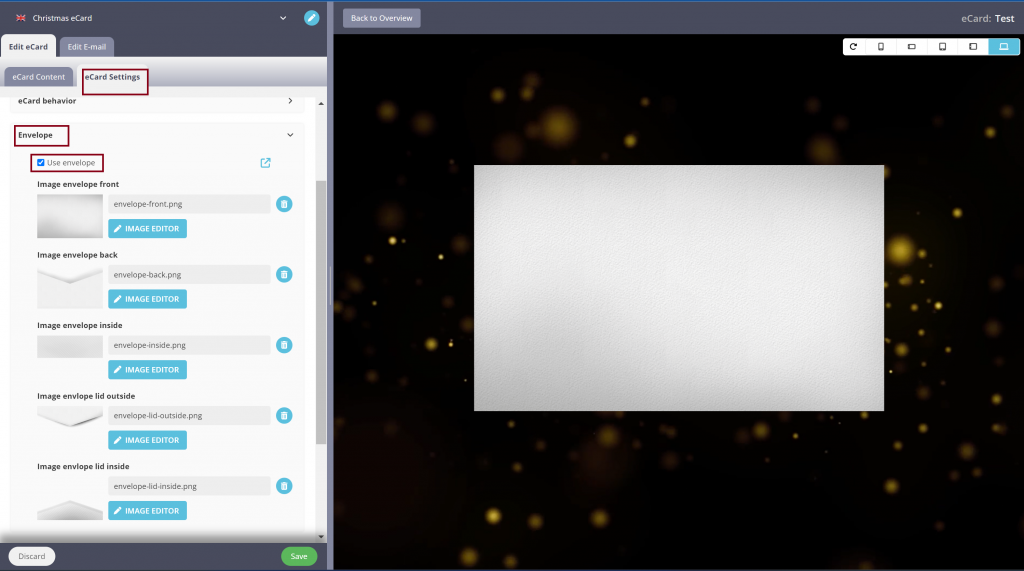
If the images are already uploaded and assigned in the system, you do not need to make any further changes.
If you would like to download and use alternative envelope images or fill the envelope with your own designs, you can follow our guide: eCards with animated envelope.