In addition to our standard fonts, you now also have the option of uploading your own font or defining it with the help of CSS. In this tutorial you will learn how to do this in just a few steps.
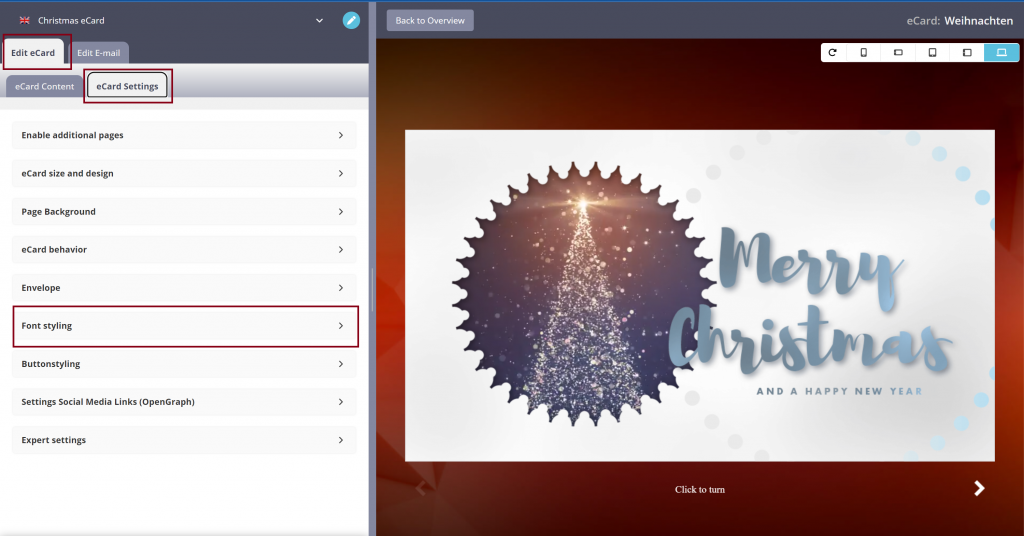
Open the editing mode of your desired eCard. In the eCard Settings tab, click on Font Styling.
Upload font
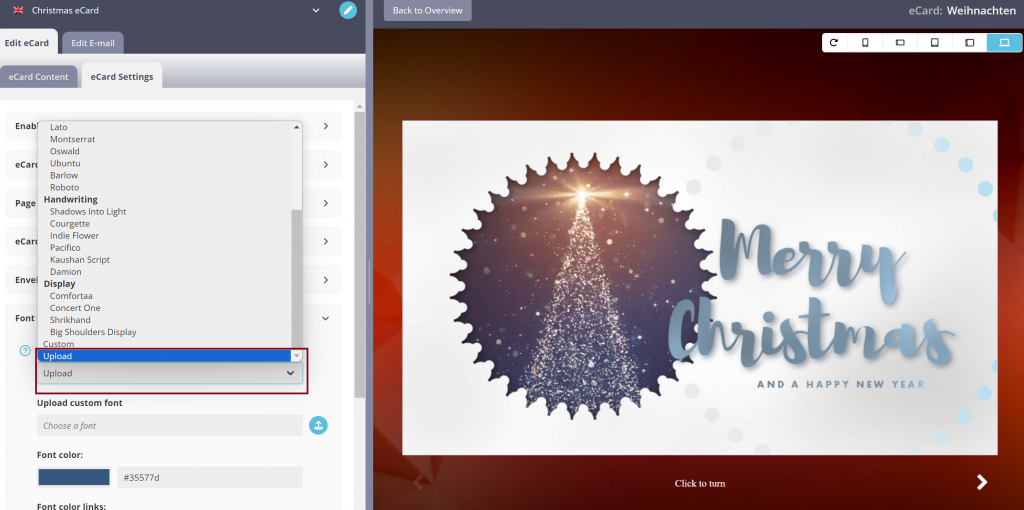
If you want to upload your own font as a file, select Upload from the drop-down menu.
Now another field opens in which you can select a file to upload your font. Save all changes after the successful upload.
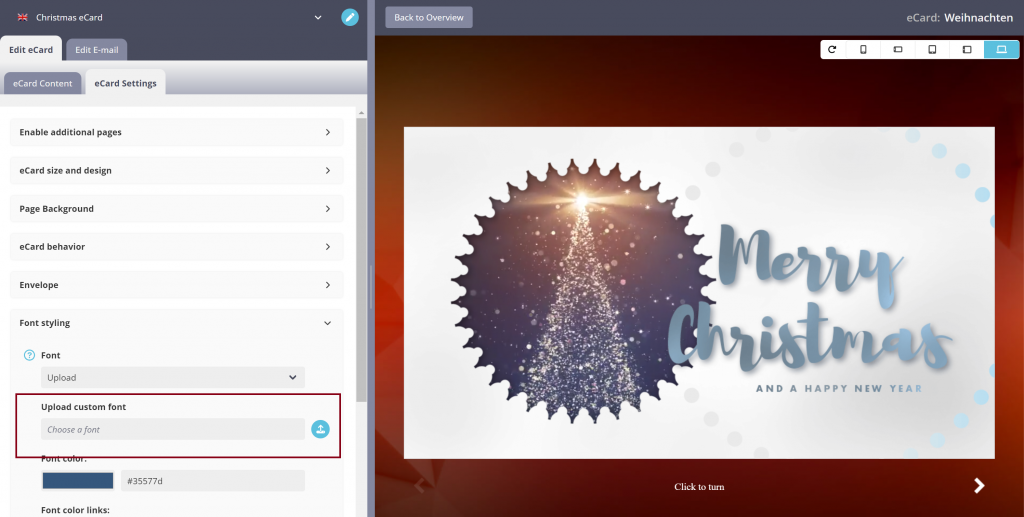
The uploaded font is automatically transferred to your existing eCard text after saving.
Define font via CSS
If you want to define your font via CSS, click on Custom in the font dropdown under eCard Settings >Font Styling. Now the CSS for custom font field opens.
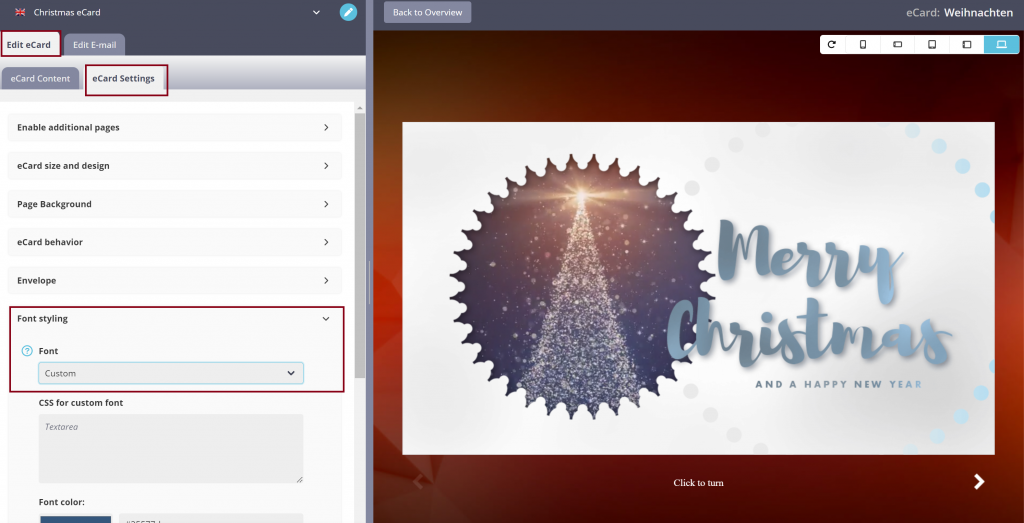
A CSS snippet can be entered there according to the following scheme:
@font-face {
font-family: ‚FONTNAME‘;
src: local(“),
url(‚pfad-zur-datei/datei.woff‘) format(‚.woff‘),
url(‚pfad-zur-datei/datei.woff2‘) format(‚.woff2‘);
}
body {
font-family: ‚FONTNAME‘;
}
The uploaded font is automatically transferred to your existing eCard text after saving.