You have the following options to give your employees access to the Power eCard system:
1. Manual creation of a user in the backend
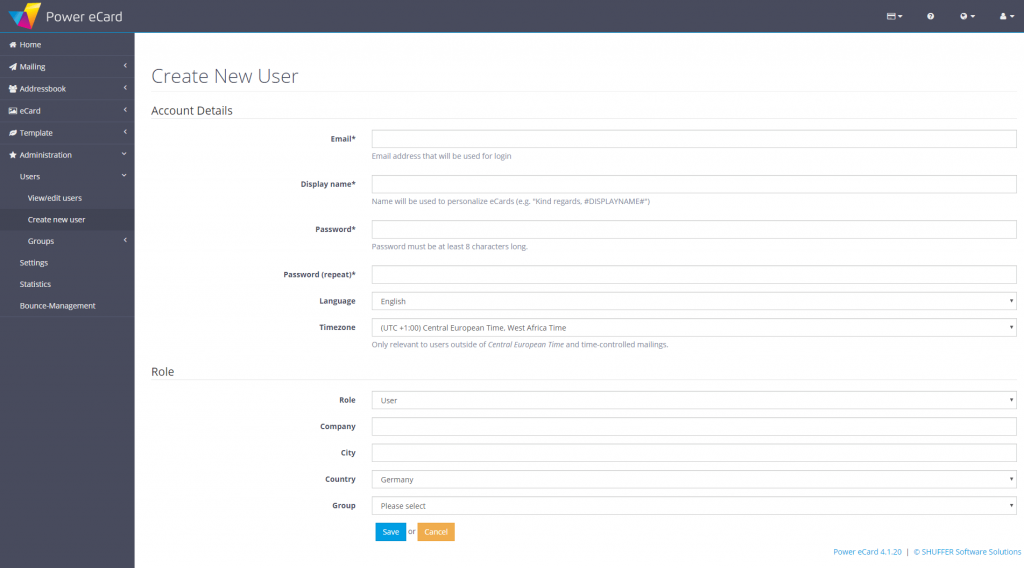
As an administrator, you can create new users for the Power eCard system by using the user management.
To do so, select Administration > User > Create ne users in the menu.
After creating the new user you can manually send out the link to the login screen as well as the user name (e-mail adress) and the password.
2. Invite Users
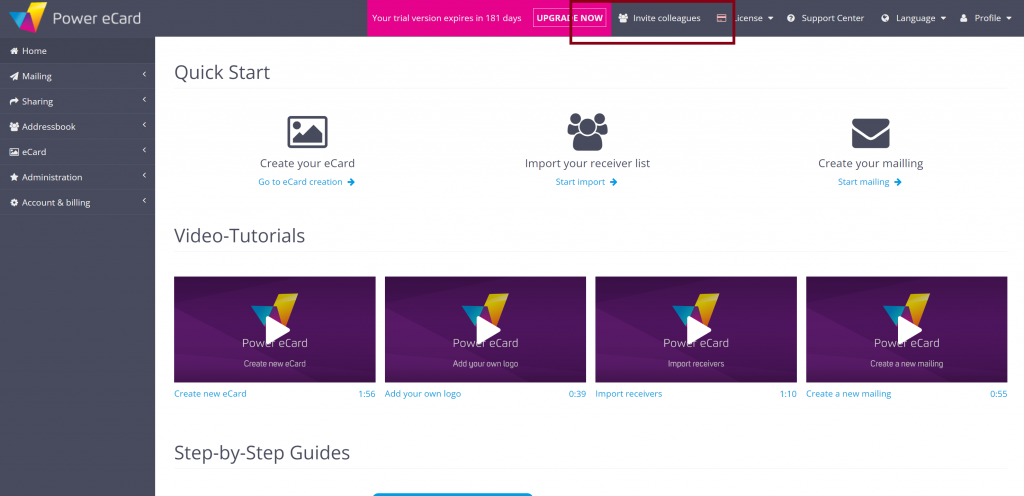
Another option is to invite individual users manually. To do this, simply click on Invite colleagues in the menu bar at the top right.
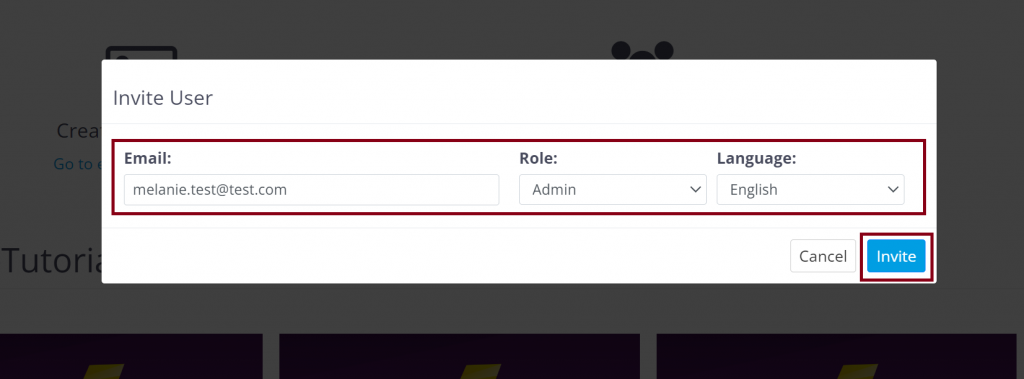
A pop-up will now open in which you can enter the e-mail address of the colleague to be invited and specify the user role and the desired system language. You can choose between German, English, Dutch and French.
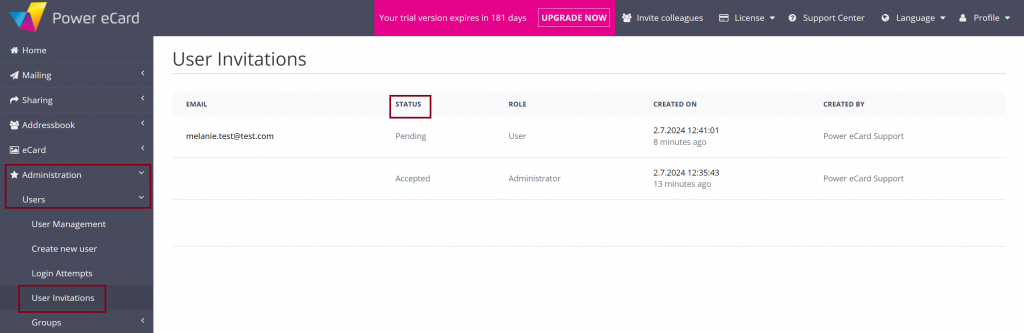
You can view all colleagues or users who have already been invited and the status of the invitation at any time under Administration>Users>User invitations. The status of invited colleagues is either Pending if the invitation has not yet been accepted or Accepted if the colleague has clicked on the corresponding button in the invitation email and entered their user data.
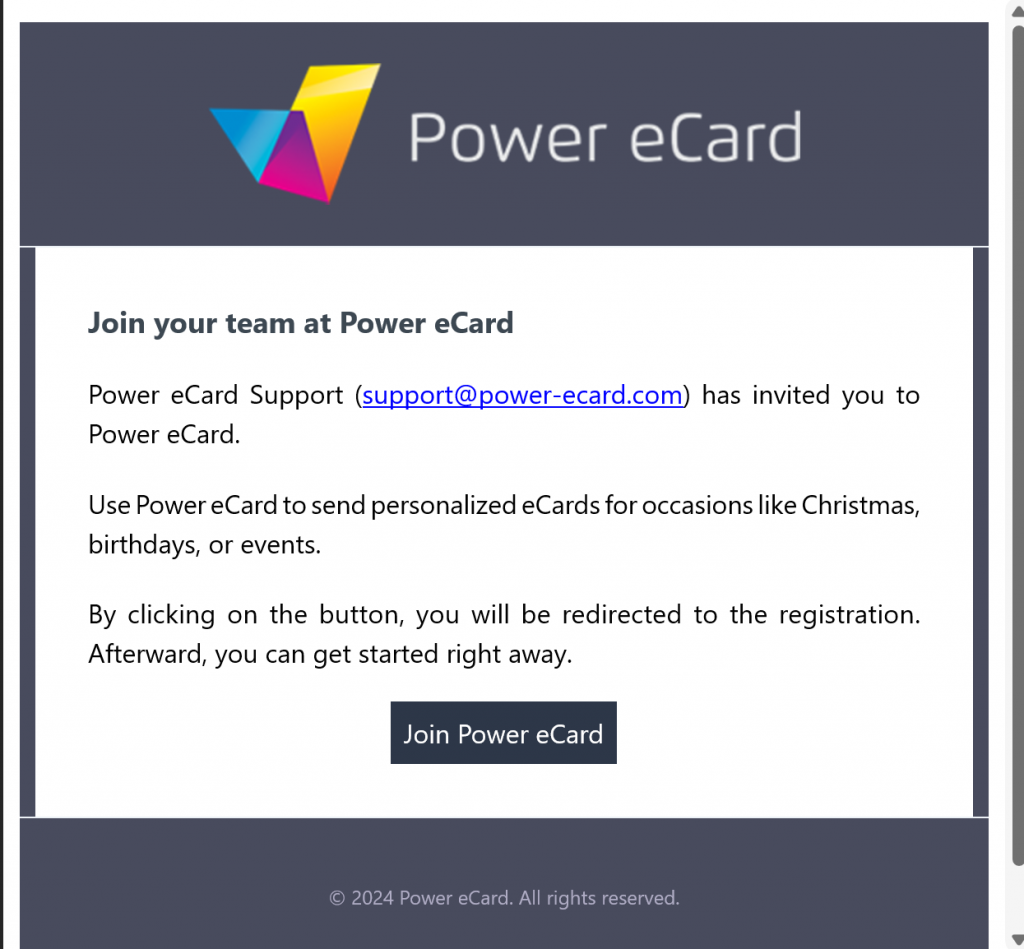
The invitation email contains a button labeled Join Power eCard. Clicking on the button opens a window in which user data such as display name or password must be entered.
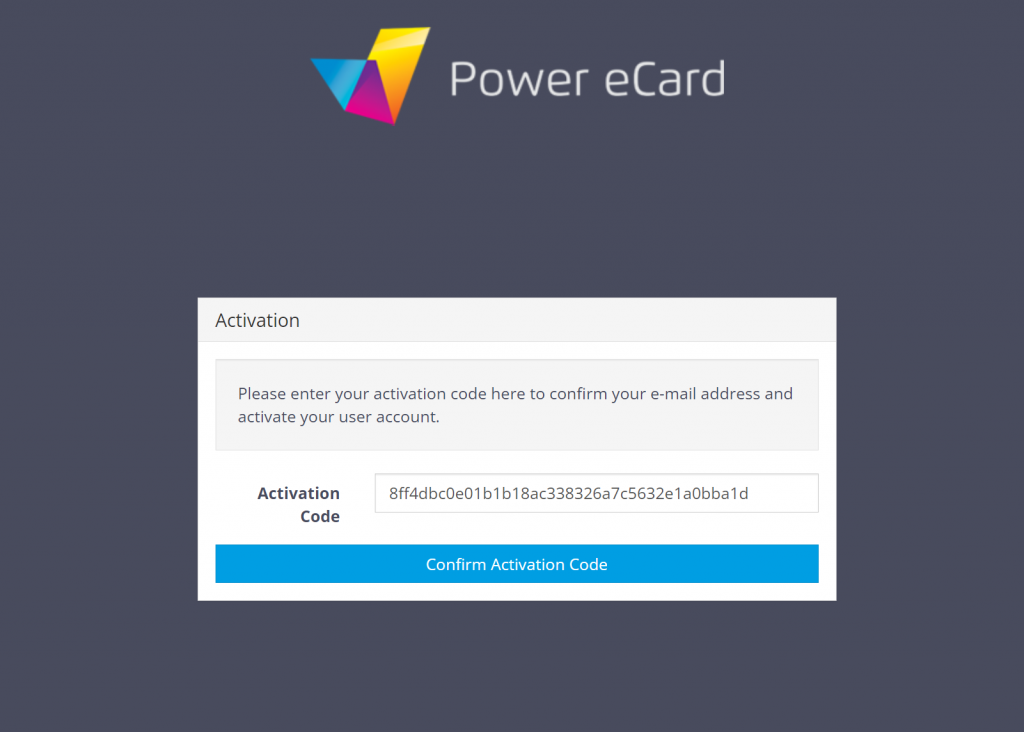
Once the user data has been saved, another e-mail with an individual activation code is automatically sent to the invited user. The user must now click on the button labeled Click here to activate.

In the window that now opens, simply click on Confirm Activation Code.
The invitation, including activation of the user account, has now been successfully completed and the new user is logged into the system.

3. Self-registration
If self-registration is enabled, all users can register themselves and create a personal account for the Power eCard system. The URL for registration is CUSTOMER.power-ecard.io/register and is linked from the login screen once self-registration has been activated.
To activate self-registration, open the menu Administration > Settings > Users & Security as an administrator in your Power eCard system. There, at the top, tick the box “Allow user registrations?”
The next step is to define one of the three activation methods for newly registered users under Administration > Settings > Users & Security:
- Account creation withou approval:
All users with a corresponding business mail address can log in to the system right after registration - Approval via double-opt-in:
The new user has to confirm his mail adress via double-opt-in by clicking an activation link in an e-mail. The account will be created afterwards - Approval by an administrator:
The user must be activated manually by the administrator after the registration. Until then, he can not log in to his account.
Finally, you can either activate or deactivate the optional fields for the registration form under Administration > Settings > Users & security in the “Fields for user registration” area. An overview of all fields (mandatory and optional fields) can be found in the screenshot and in the list below
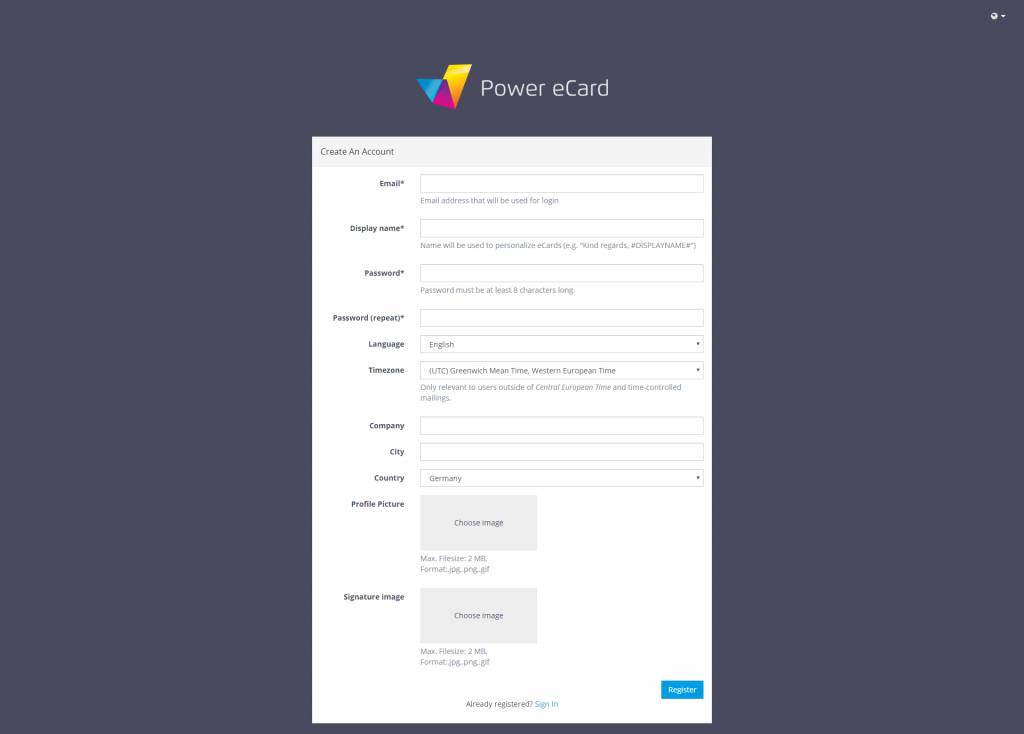
The following information is queried during registration:
E-Mail: E-Mail adress that is also used for login Display name: Name for personalization, e.g. in the greeting phrase “Best regards, your #Display name#”
- User name: This can be any name you want, ideally it consists of the first letter of the first name and last name (if your e-mail changes, you can still log in using the user name)
- Password: at least 8 characters long and 1 number included
- Time zone: relevant for users abroad and timed dispatch, for Germany select “Central European Time”
- Company: optional (can be used for user groups)
- Location: optional
- Country: optional
- Picture / Logo: optional
4. Import a user list
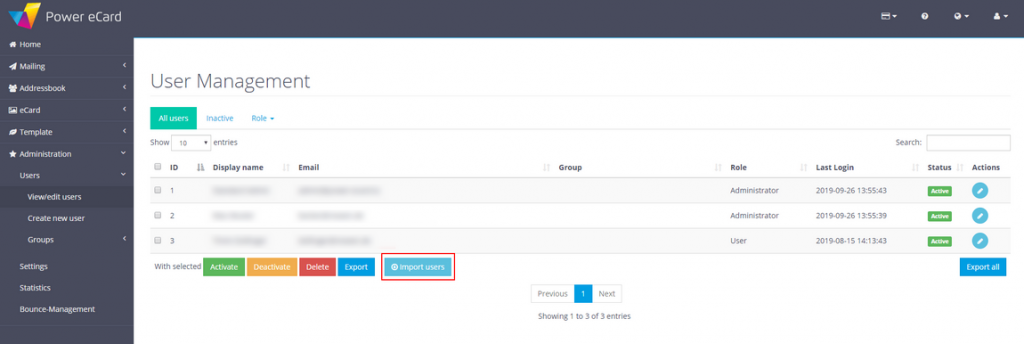
The user administration can be used to import user data via a CSV list. In this case, a standard password for every user is specified in the CSV, which the user must change after his first login.
Afterwards the link as well as user name (e-mail address) and the default password can be mailed to all imported users manually.
5. Optional software package: LDAP connection
Power eCard can be connected to the company’s LDAP system and employees can log in to the Power eCard system with their global user data.