Add further receiver data to the already existing ones and enrich your card texts with additional individual information. You can also easily and conveniently use the import template for this.
Add receiver data
In this block we show you how to add further receiver data to your existing receiver data in just a few steps.
Adding new receiver data
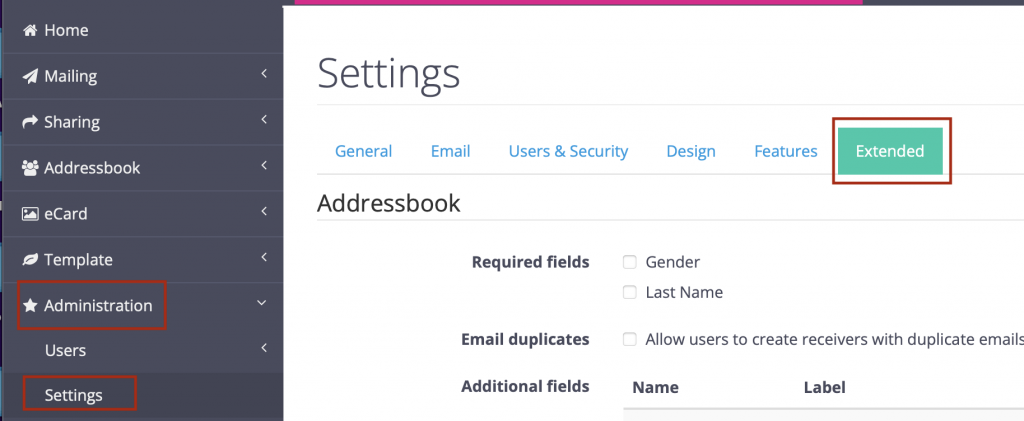
In the drop-down menu on the left, go to the “Administration” tab, the sub-item “Settings” and then “Extended” at the top of the menu bar.
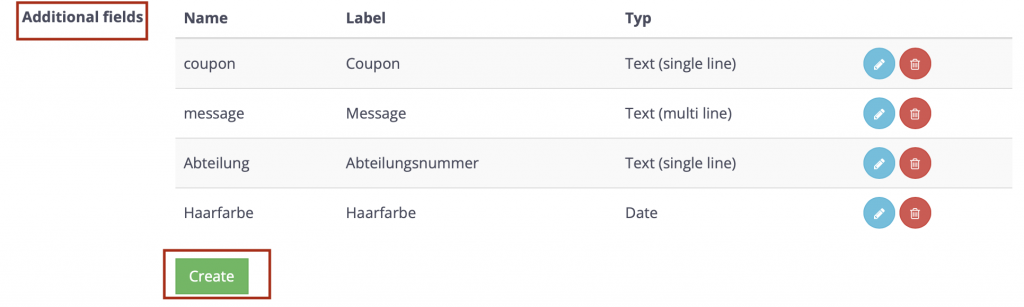
Under the menu item “Extended” you can add additional fields by clicking on the green button “Create”.
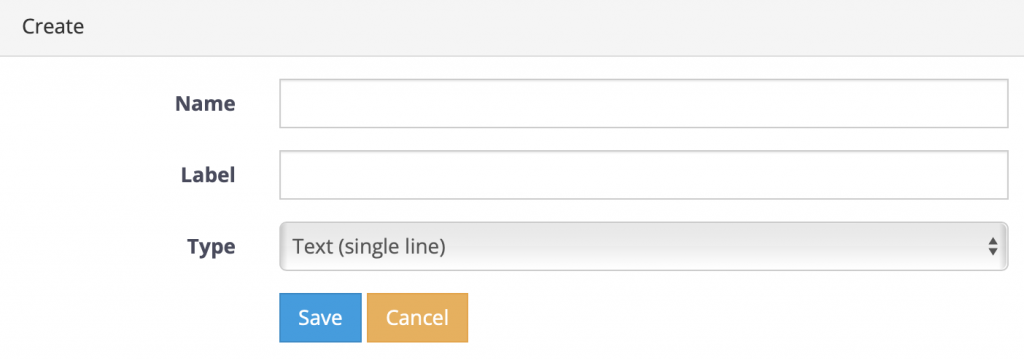
For the “Name” field, enter the column name that you will later use for your Excel import file.
The field “Label” is for internal purposes and refers to the name of the field.
In Type you define the type of the new field:
Single-line: Individual terms such as department numbers or locations.
Multi-line: Multi-line texts such as personal messages.
Date: Date entry format: DD/MM/YYYY

The receiver data you entered can now be seen under “Additional fields”.
Address Book & Import
In this section we show you how to use your additional fields of receiver data in the address book. This includes the administration as well as the import of new addresses.
Option 1: Create individual receivers
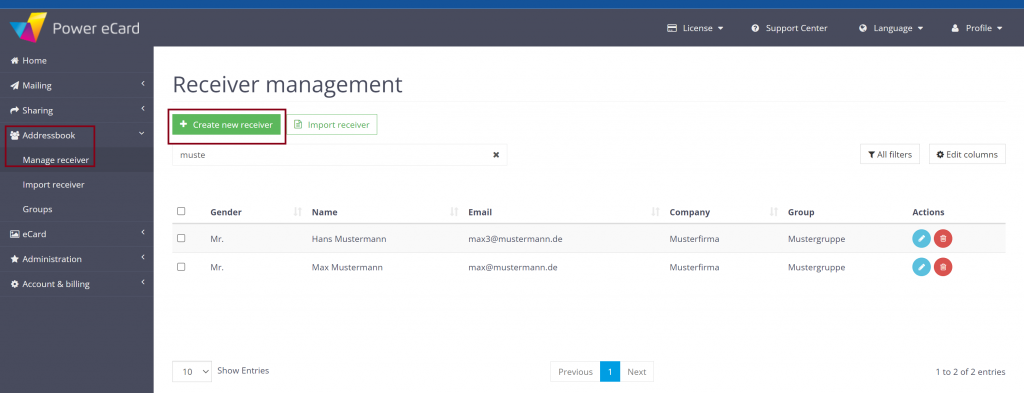
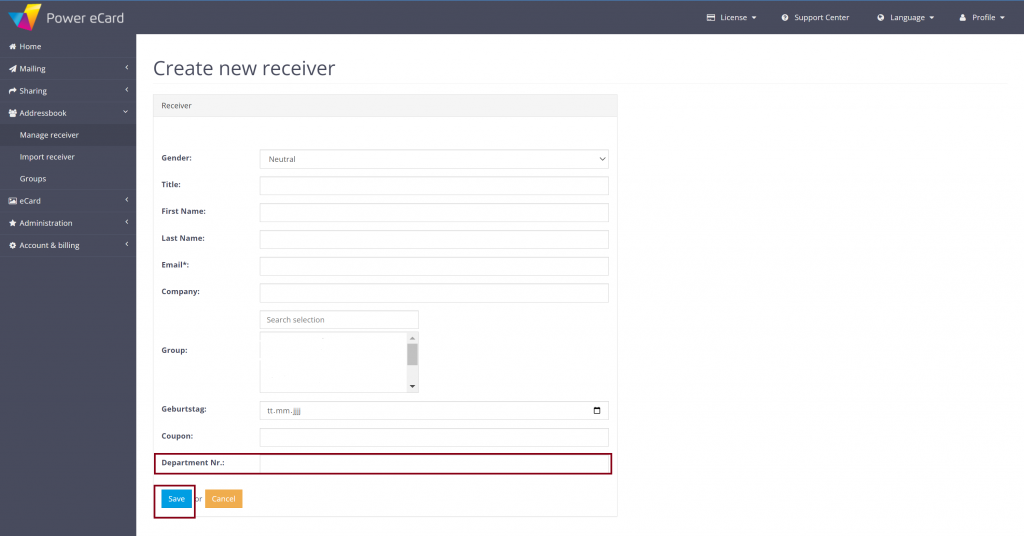
The additional receiver data is now visible in the address book and can be used accordingly. You can add a department / department number to the contact as in the example. To do this, click on Address book>Manage receivers>Create new receiver in the menu.
Option 1: Import receiver list
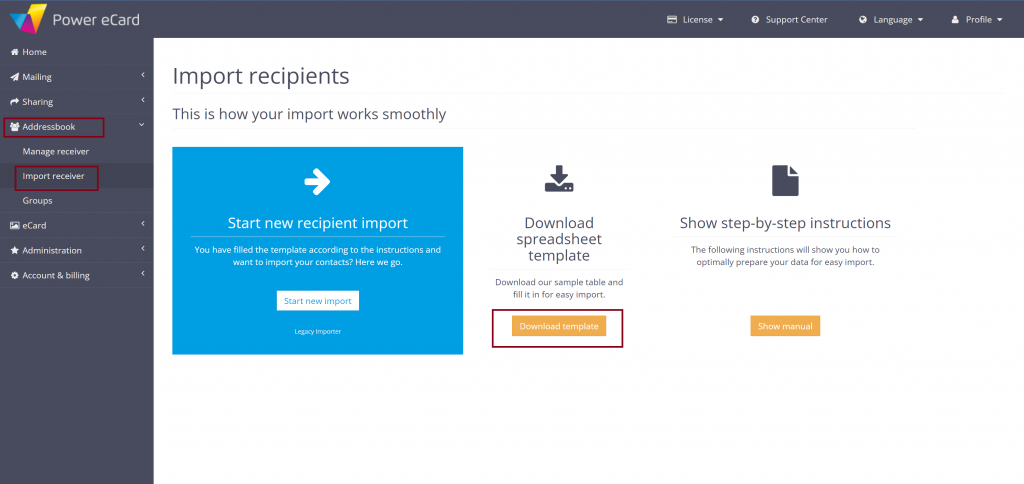
For a quick and easy upload for large lists of receivers, it is best to use our import function. To do this, download the import template under Adressbook>Import Receiver>Download template

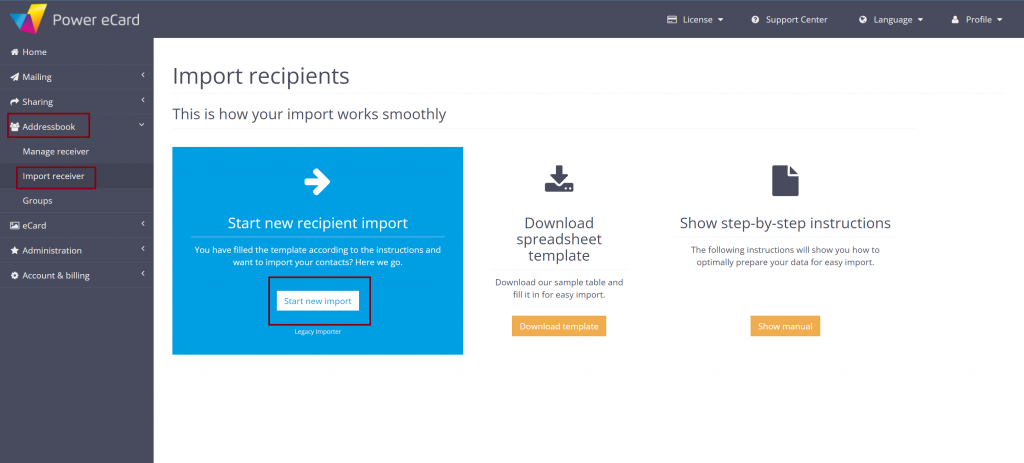
After opening the template in Excel, insert the name of the new field selected in the “Name” field as the new column ( please keep in mind that the name is case-sensitive). Save the document and upload the file under Adressbook>Import Receiver>Start new Import
Application of Receiver Data
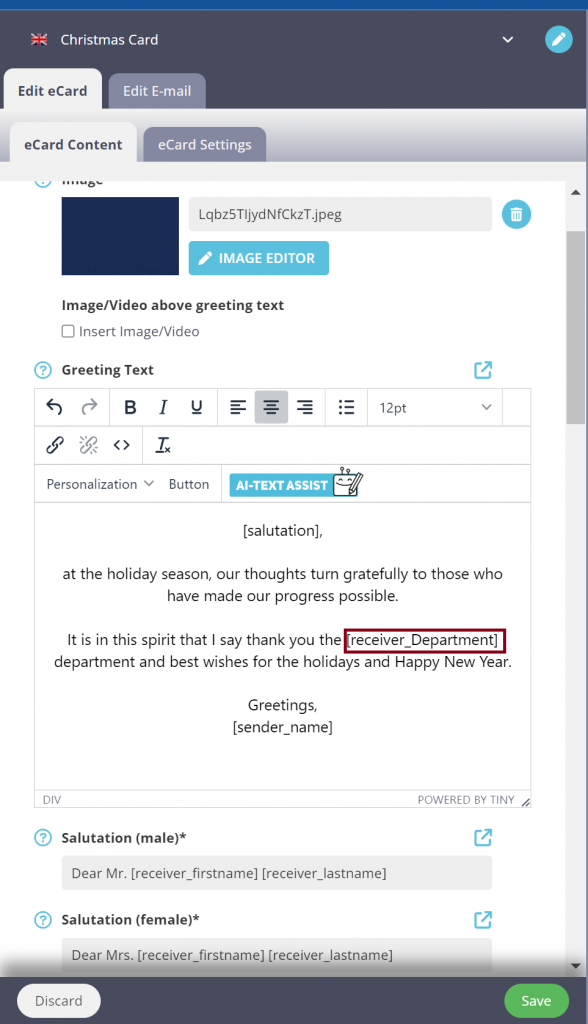
You can now use the receiver data you entered to individualize your Emails and eCards. To do this, select the desired individualization in the respective text field under Personalization > Receiver > Department Nr. (Name of your new receiver field)
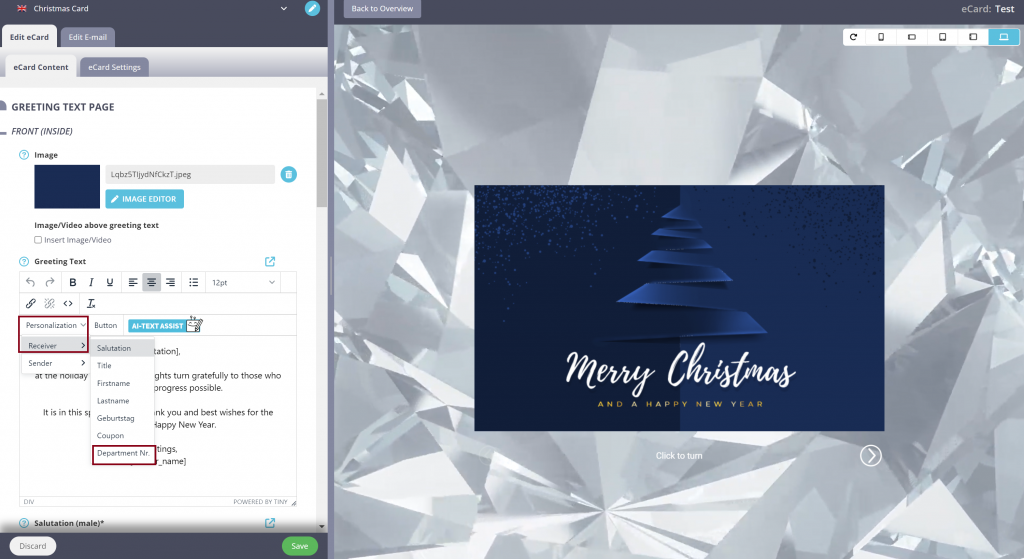
Now, when you send your eCard, the data of the new receiver field that you previously entered in the template file for each receiver is automatically inserted. In this case, this would be the department name of the receiver.